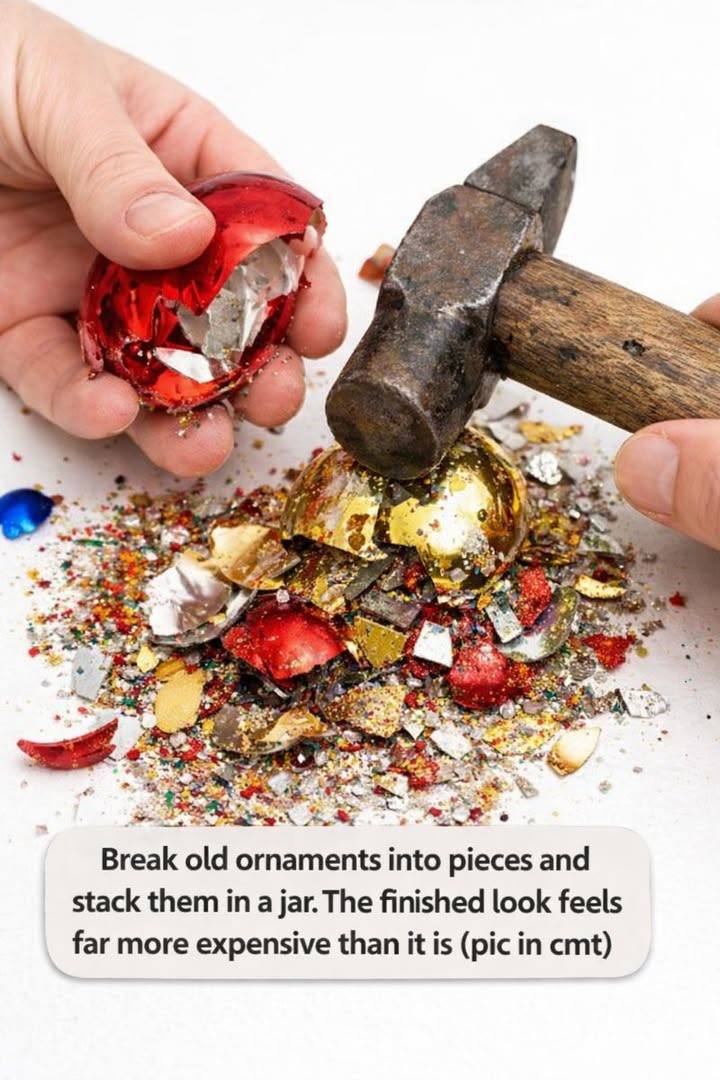
Ah yes—that’s a clever DIY decor hack using broken ornaments! Even shattered ornaments can become a chic, high-end-looking home accent if done thoughtfully. Here’s how you can turn them into something that feels far more expensive than the cost:
How to Make a Stunning Ornament Jar Display
Materials Needed
- Broken or chipped Christmas ornaments (any color or shape)
- A clear glass jar or vase (wide-mouth works best)
- Optional: fairy lights, pinecones, glitter, or metallic accents
- Tweezers or gloves for handling sharp edges
Steps
- Clean the Pieces
- Wipe ornament pieces gently to remove dust or debris.
- Layer by Color or Texture
- Sort pieces by color, glitter, or finish.
- Layer them in the jar to create a gradient or contrasting sections.
- Add Accents (Optional)
- Insert fairy lights for a glowing effect.
- Add small metallic beads, pinecones, or faux snow to enhance texture.
- Stack Carefully
- Place larger pieces first, then smaller shards to fill gaps.
- Tilt or rotate pieces for a visually interesting arrangement.
- Display
- Place on a mantel, shelf, or table centerpiece.
- You can rotate it under light to catch shimmer and reflections.
Why It Looks Expensive
- Color coordination: Layering by hue creates a designer feel.
- Reflections and sparkle: Broken glass reflects light like crystals.
- Texture variety: Combining matte, shiny, and glittery pieces adds depth.
- Lighting: Adding lights or metallic accents enhances the luxury effect.
💡 Extra Tips
- Use clear or frosted jars for a more modern look.
- Avoid sharp edges sticking out — trim if necessary or position inward.
- For a seasonal touch, add tiny pine sprigs or cinnamon sticks.
This is a perfect example of turning “trash into treasure”—your old, broken ornaments now feel like a curated designer piece for a fraction of the cost.
If you want, I can make a list of 7 more brilliant ways to upcycle broken ornaments into decor that looks boutique-level fancy.
Do you want me to do that?
