Ah yes—that’s a super clever DIY décor hack ✨. It’s all about transforming broken or inexpensive pieces into something visually luxurious. Here’s how to do it well and make it feel “high-end”:
🏺 Steps to Make Broken Ornaments Look Expensive
1. Choose Your Ornaments
- Pick glass, metallic, or shiny plastic ones
- Stick to a cohesive color palette (e.g., golds + silvers, pastels, or jewel tones)
- Avoid clashing colors—it cheapens the effect
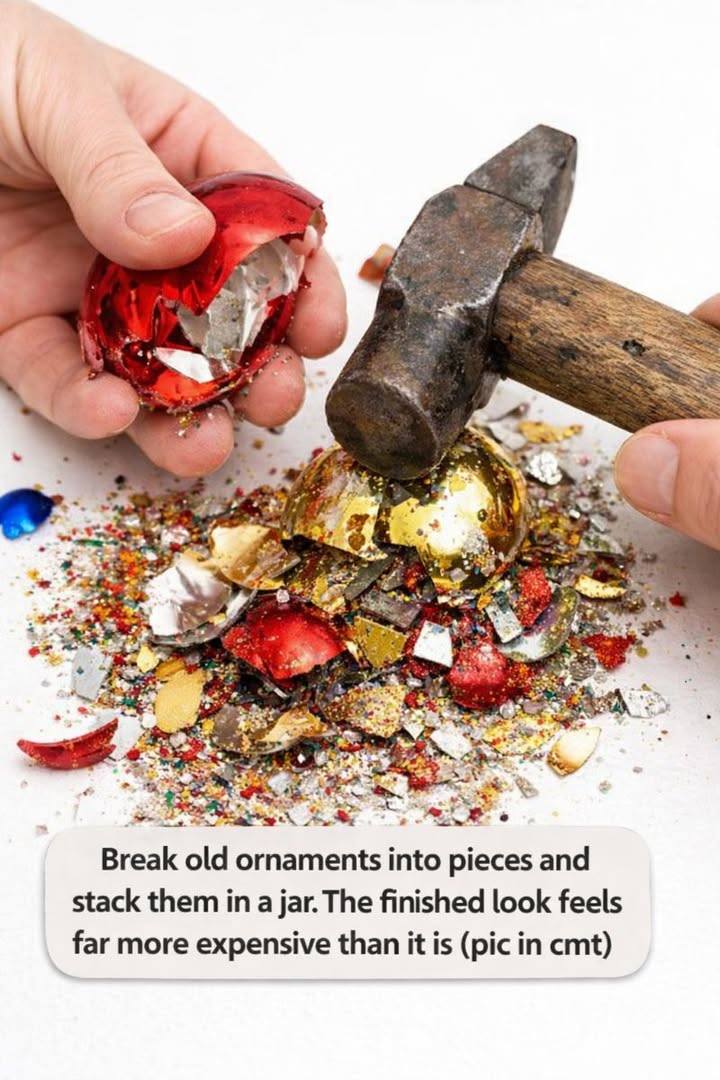
2. Break Carefully
- Use gloves to avoid cuts
- Tap gently with a hammer inside a padded bag or towel
- Aim for small shards + medium pieces, not dust
3. Prepare Your Jar or Vase
- Clear glass works best for a layered effect
- Tall jars = stacked layers, short wide jars = mosaic-like effect
4. Layer Thoughtfully
- Mix sizes and textures (smooth vs jagged)
- Metallic/shiny pieces on top reflect light beautifully
- Optional: sprinkle a few glitter pieces or faux gems for sparkle
5. Seal or Leave Open
- Leave open if it’s just decorative
- Optionally, add a lid with a ribbon or candle on top for a polished look
6. Display Tips
- Cluster multiple jars of different heights
- Place near light sources to catch reflections
- Can also add fairy lights inside for extra glam
✨ Why It Looks Expensive
- Light + transparency tricks the eye
- Uniform color palette makes it feel curated
- Mixed textures = depth, like a designer centerpiece
If you want, I can sketch 3 really stylish jar layout ideas that will make your broken ornaments look like a boutique display 🌟. Do you want me to do that?
