Cleaning your toilet flush (the handle, buttons, and the area around the tank) can make it look new and prevent germs buildup. Here’s a clear, step-by-step guide:
1. Gather Supplies
- Rubber gloves
- White vinegar or mild disinfectant
- Baking soda (optional for stubborn grime)
- Old toothbrush or small scrub brush
- Soft cloth or sponge
- Toothpicks or cotton swabs for tight spots
2. Turn Off the Water (Optional)
- For deep cleaning inside the tank, turn off the water supply at the valve
- Flush once to empty the tank
3. Clean the Flush Handle & Exterior
- Spray vinegar or disinfectant on the handle, buttons, and surrounding areas
- Let it sit for 5–10 minutes to loosen dirt and bacteria
- Scrub gently with an old toothbrush or small brush
- Wipe with a soft cloth
4. Clean Tight Spots
- Use cotton swabs or toothpicks to remove buildup around hinges or small crevices
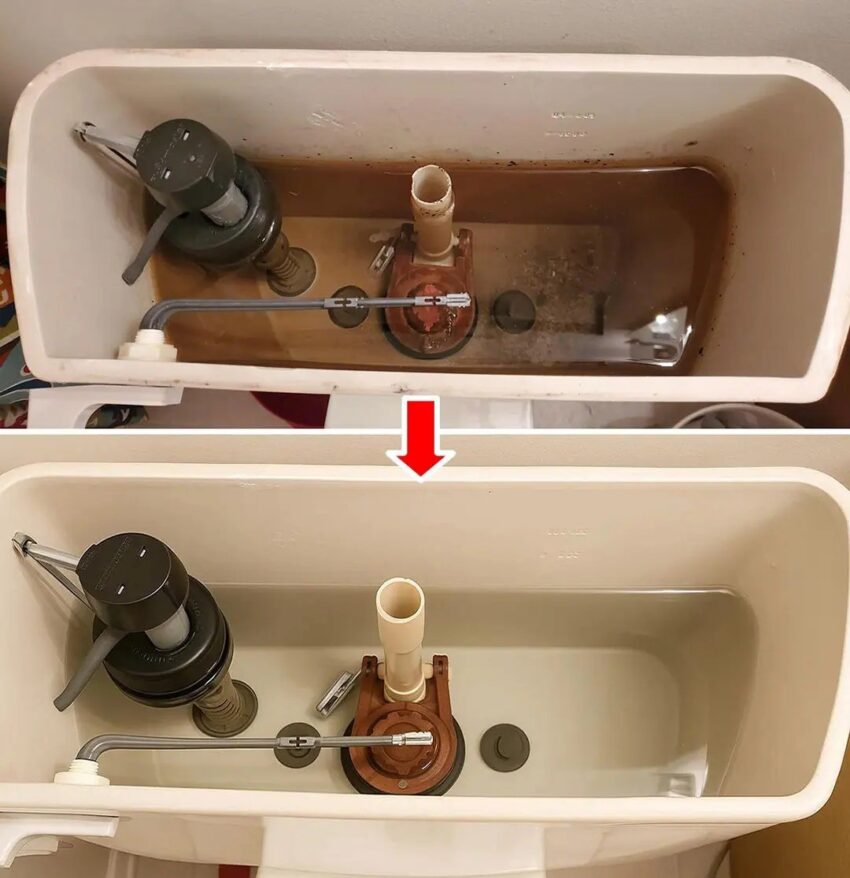
5. Optional: Clean Inside the Tank
- Sprinkle baking soda and add vinegar for a natural fizzing cleaner
- Scrub gently with a brush
- Turn water back on and flush to rinse
6. Polish and Prevent Future Buildup
- Wipe dry with a soft cloth
- For chrome or metal handles, apply a thin layer of baby oil or mineral oil to prevent water spots
Extra Tips
- Clean your flush handle at least once a week to prevent germs
- Avoid harsh chemicals that can damage chrome, plastic, or paint
- Regular maintenance keeps the toilet looking like new without extra effort
✅ Bottom Line:
A combination of vinegar, baking soda, gentle scrubbing, and routine cleaning restores the toilet flush’s shine and removes bacteria buildup.
I can also make a “5-minute weekly toilet cleaning routine” that keeps the whole toilet spotless with minimal effort. Do you want me to do that?
