That sounds like one of those satisfying before-and-after makeover stories—and they’re popular for a reason. Here’s how a “free dressing table” transformation like that usually unfolds (and why it impresses people so much):
🪑 From Freebie to Showpiece: What Likely Happened
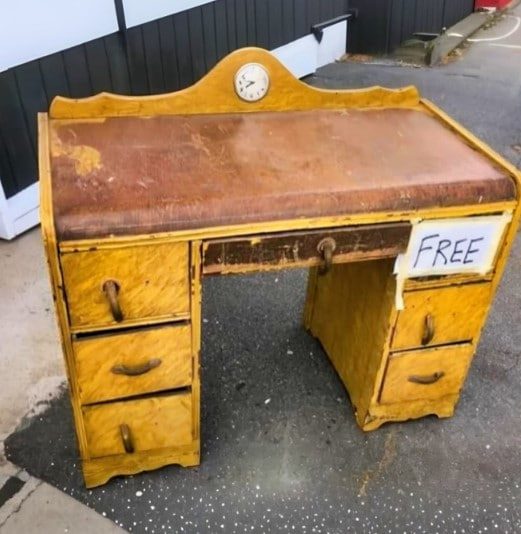
1. The “Free” Find
- The dressing table was probably old, scratched, or outdated
- Many people overlook these pieces, but they often have solid wood and great structure
2. Deep Cleaning & Prep
- First step is always cleaning off dirt, grease, and old polish
- Light sanding removes scratches and worn-out finish, creating a smooth base
3. Repair & Restore
- Tightening loose joints, fixing drawers, or filling cracks
- Sometimes replacing knobs or handles for a modern touch
4. The Makeover Magic ✨
Common upgrades that create that “stunning” effect:
- Fresh paint (matte white, charcoal, pastel, or bold colors)
- Or wood staining to highlight natural grain
- Adding gold/brass hardware for a luxury feel
- Lining drawers with patterned paper
5. Final Touches
- Mirror polishing or replacing
- Styling with decor (plants, candles, perfumes)
- Result: a piece that looks brand new—or even better than store-bought
😲 Why It Leaves Owners Stunned
- They expect something basic… but get a designer-quality piece
- Emotional value: something “old and unwanted” becomes beautiful and useful again
- Cost: transformation often costs very little compared to buying new furniture
💡 Bottom Line:
With a bit of creativity, effort, and basic tools, a “free” dressing table can be turned into a high-end, personalized piece—which is why these makeovers feel so dramatic and rewarding.
If you want, I can give you a step-by-step beginner guide to flipping furniture at home (even with zero experience).
